Supprimer l'arrière-plan d'une vidéo avec l'IA : isolez n'importe quel sujet en quelques secondes
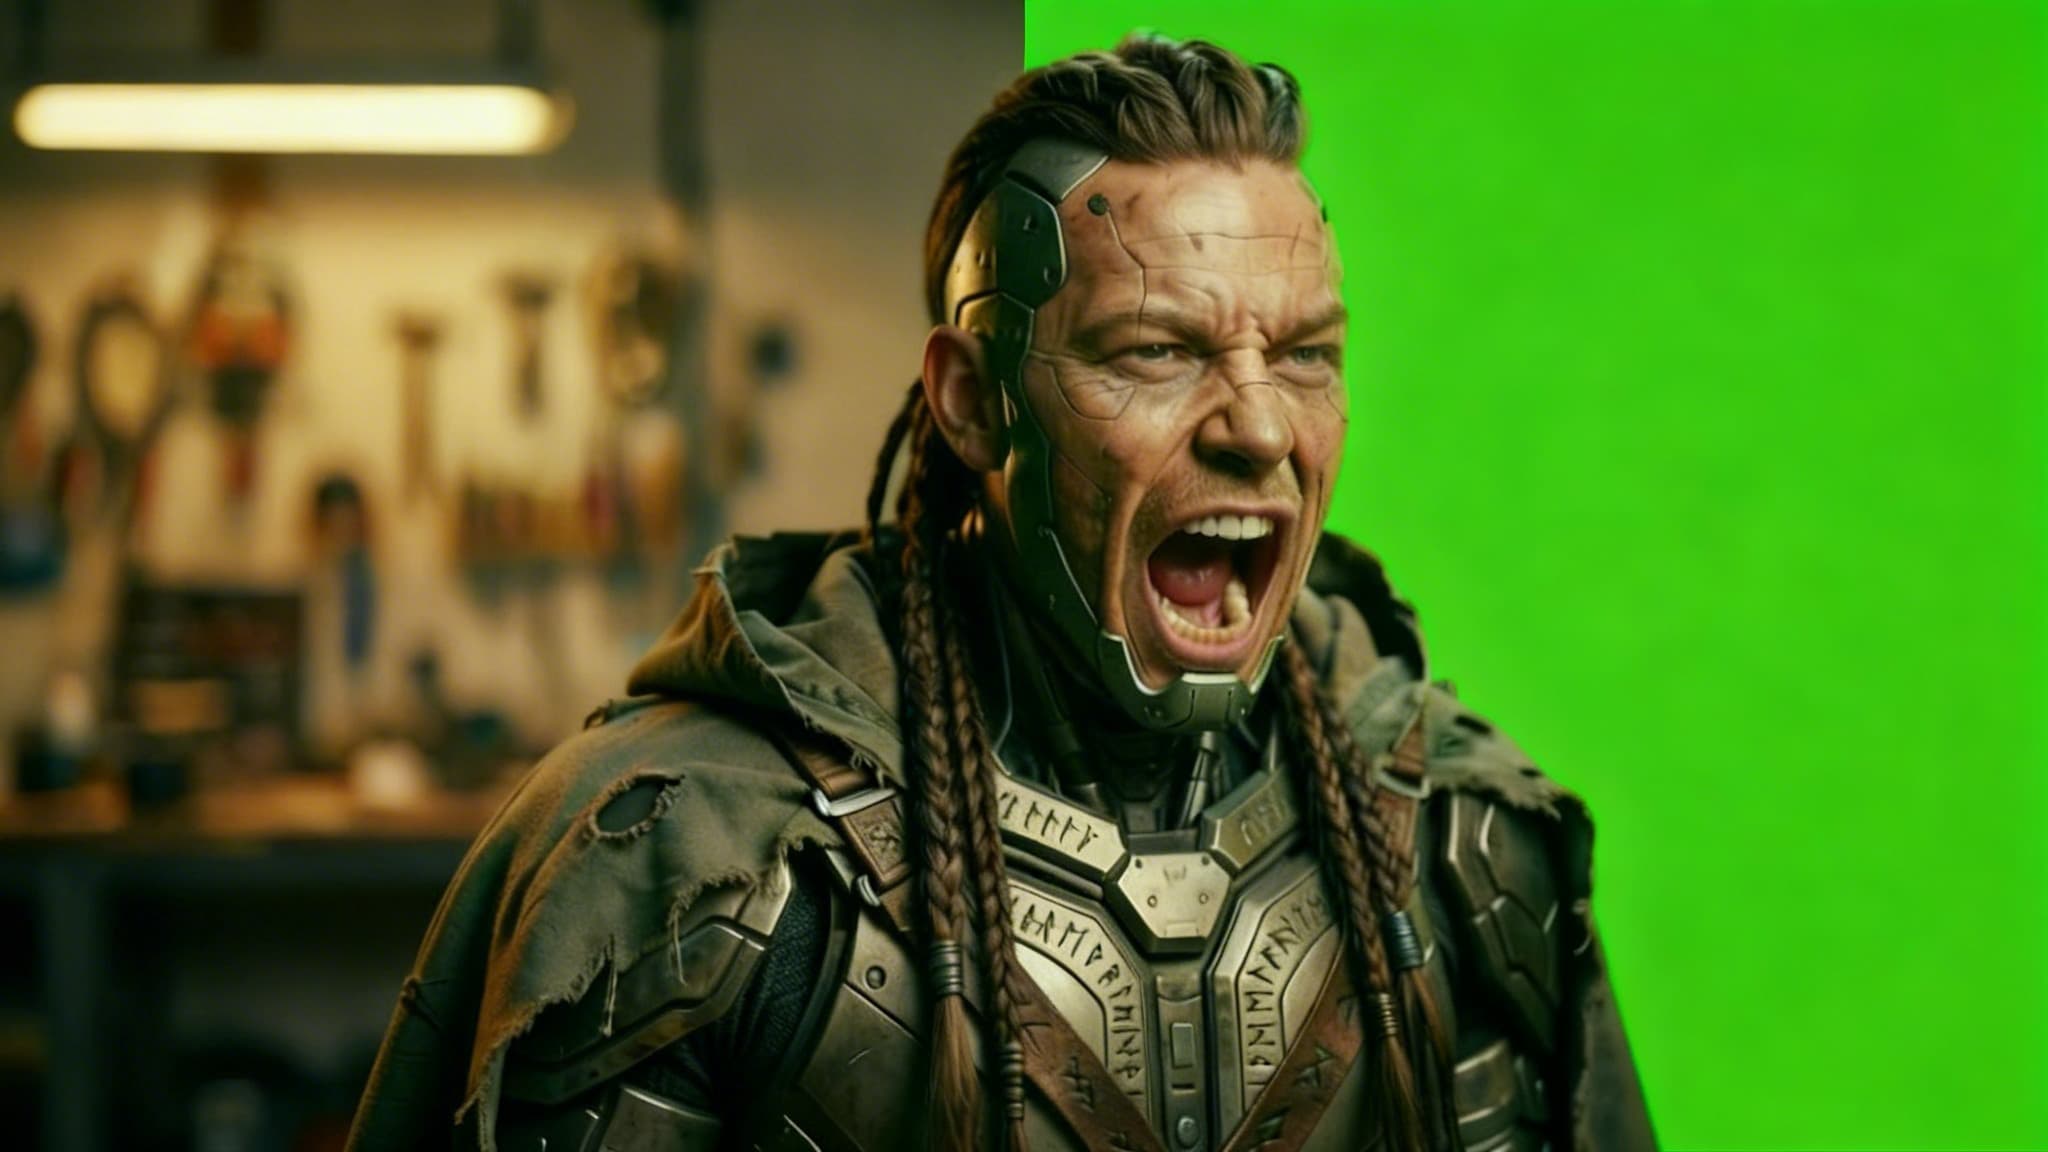
L'époque du rotoscoping fastidieux, image par image, est révolue. Que vous soyez motion designer en train de composer des scènes, créateur de contenu réalisant des montages façon fond vert sans fond vert, ou marketeur ayant besoin d'une vidéo produit propre sur fond transparent — la suppression d'arrière-plan propulsée par l'IA change tout.
AB-Arts Studio vient d'introduire un type de session dédié, Remove Video Background, et il fait exactement ce que son nom indique : importez une vidéo, laissez l'IA isoler votre sujet, et récupérez un fichier propre avec un arrière-plan transparent (ou personnalisé) — prêt pour le montage dans Premiere Pro, After Effects, DaVinci Resolve, ou n'importe quel outil de compositing.
Voyons ensemble comment cela fonctionne, quand l'utiliser, et comment obtenir les meilleurs résultats.
Qu'est-ce que la fonctionnalité Remove Video Background ?
Remove Video Background est un type de session autonome dans AB-Arts Studio. Contrairement aux outils génériques de suppression d'arrière-plan qui ne traitent que des images fixes, cette fonctionnalité traite des clips vidéo entiers — en suivant votre sujet d'une image à l'autre tout en conservant des contours nets et cohérents.
Le résultat est un fichier vidéo dont l'arrière-plan a été retiré. Vous pouvez choisir entre un arrière-plan entièrement transparent (idéal pour le compositing), une couleur unie, ou même un arrière-plan personnalisé. La piste audio d'origine est conservée par défaut, vous ne perdez donc ni dialogues, ni musique, ni effets sonores.
Comment supprimer l'arrière-plan d'une vidéo étape par étape
Démarrer prend moins d'une minute. Voici le déroulé complet :
1. Créez une nouvelle session
Depuis la page Sessions, cliquez sur New Session (ou sur le bouton « + »). Dans le sélecteur de type de session, choisissez Remove Video Background. Votre espace de travail dédié s'ouvre immédiatement.
2. Importez votre vidéo
Cliquez sur l'emplacement Video pour importer votre fichier source. Gardez à l'esprit que la plateforme traite les 5 premières secondes de votre clip, et que la taille maximale du fichier est de 16 Mo. Si votre vidéo est plus longue, découpez-la au préalable sur le segment clé.
3. Configurez votre sortie
Ouvrez les Advanced Settings pour personnaliser le résultat :
- Type d'arrière-plan — Choisissez transparent, une couleur unie (blanc, noir, vert, ou n'importe quelle valeur hexadécimale), ou une option personnalisée selon votre pipeline de montage.
- Format et codec de sortie — Sélectionnez le format adapté à votre logiciel de montage. Les arrière-plans transparents nécessitent généralement des formats prenant en charge les canaux alpha (comme WebM ou MOV avec ProRes 4444).
4. Cliquez sur Send
Cliquez sur Send et laissez l'IA faire le gros du travail. Le temps de traitement dépend de la durée et de la complexité de la vidéo, mais vous recevrez une notification en temps réel dès qu'elle sera prête.
5. Téléchargez et montez
Une fois le traitement terminé, votre vidéo sans arrière-plan apparaît dans le fil de la conversation. Téléchargez-la directement ou retrouvez-la plus tard dans votre History. Vous pouvez ensuite la déposer dans votre timeline de montage et la composer sur l'arrière-plan de votre choix.
À qui s'adresse cette fonctionnalité ?
Cette fonctionnalité ouvre des possibilités créatives pour un large éventail de cas d'usage :
Les motion designers et artistes VFX peuvent éviter le fastidieux rotoscoping manuel. Extrayez un sujet d'images réelles et placez-le dans des environnements 3D, des arrière-plans animés ou des compositions stylisées — le tout sans fond vert sur le plateau.
Les créateurs de contenu et YouTubeurs peuvent réaliser des miniatures et des intros dynamiques en s'isolant de leur arrière-plan et en plaçant leurs images par-dessus des graphismes de marque, du gameplay ou des plans de coupe.
Les marketeurs e-commerce et produit peuvent filmer des démonstrations de produit sur n'importe quelle surface, puis supprimer l'arrière-plan pour placer le produit sur un fond blanc épuré, une scène lifestyle ou un modèle de marque.
Les formateurs et présentateurs peuvent s'incruster par-dessus des diapositives, des captures d'écran ou des schémas — créant un effet d'incrustation (picture-in-picture) à l'allure soignée et professionnelle.
5 conseils pour obtenir les meilleurs résultats de suppression d'arrière-plan
- Utilisez des images très contrastées. Plus la séparation entre votre sujet et l'arrière-plan est nette, plus le détourage de l'IA sera précis. Évitez les situations où les vêtements ou la carnation du sujet se fondent dans l'arrière-plan.
- Veillez à un bon éclairage de votre sujet. Un éclairage uniforme et constant réduit le flou de mouvement et les artefacts d'ombre, ce qui se traduit par des contours plus nets sur le sujet isolé.
- Limitez les mouvements rapides et erratiques. Un mouvement régulier et maîtrisé fournit à l'IA des données de suivi plus fiables. Des gestes rapides et imprévisibles peuvent provoquer un scintillement des contours.
- Découpez avant l'import. Comme l'outil traite les 5 premières secondes, assurez-vous que l'action la plus importante se situe au début de votre clip. Découpez dans votre logiciel de montage avant l'import dans AB-Arts Studio.
- Choisissez l'arrière-plan de sortie adapté à votre pipeline. Si vous faites du compositing dans After Effects ou DaVinci Resolve, optez pour le transparent. Si vous avez besoin d'un visuel rapide pour les réseaux sociaux, un arrière-plan de couleur unie peut vous faire gagner une étape.
Comment cela s'intègre dans votre workflow AB-Arts Studio
Remove Video Background n'existe pas de manière isolée — c'est une pièce d'un pipeline créatif plus vaste que vous pouvez construire entièrement au sein d'AB-Arts Studio.
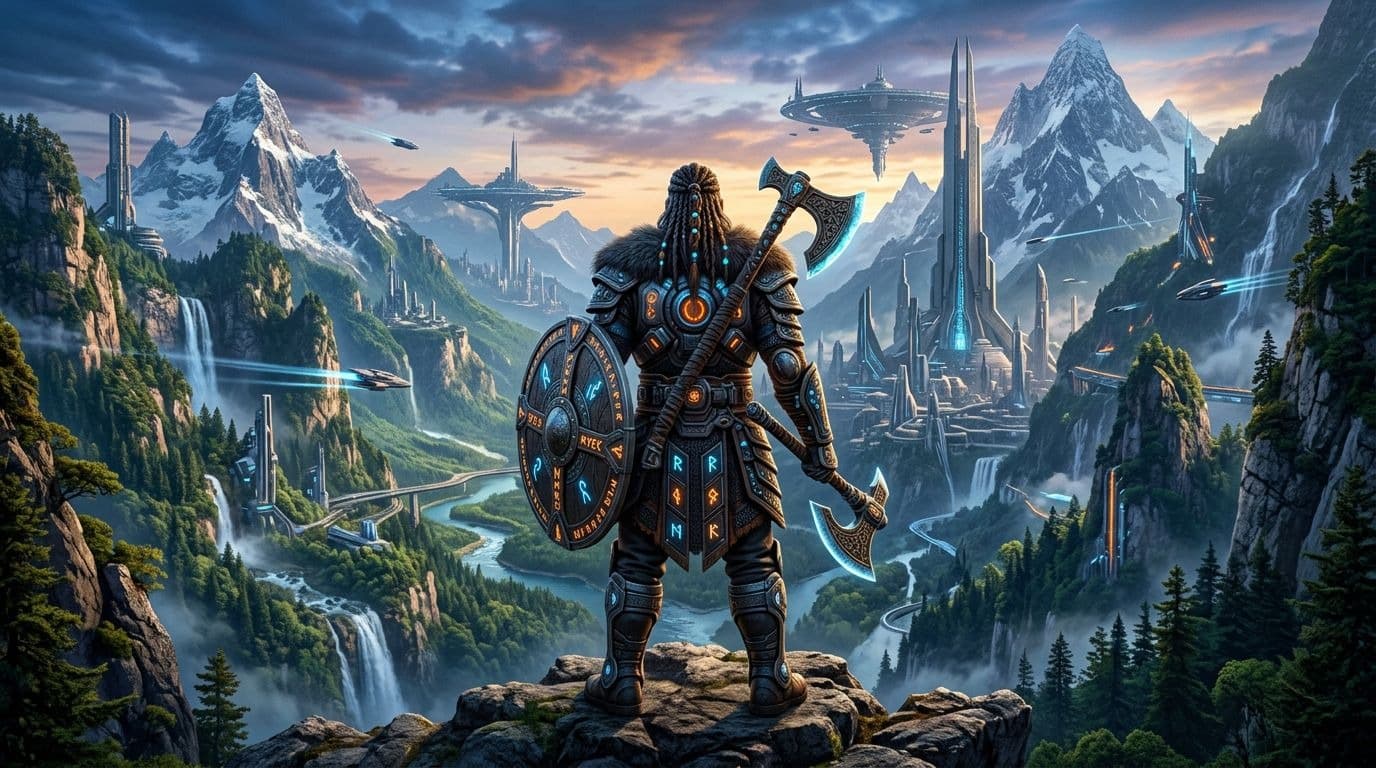
Voici un exemple concret : commencez par générer une image de personnage avec Imagen 4 Ultra ou Flux Pro. Animez-la en vidéo grâce à Quick Animate avec un modèle comme Kling v2.5 Turbo Pro ou Veo 3.1. Utilisez ensuite Remove Video Background pour isoler le personnage animé de son arrière-plan généré. Enfin, composez-le par-dessus une autre scène ou utilisez-le en surimpression dans votre montage final.
Vous pouvez aussi mettre à l'échelle votre vidéo sans arrière-plan en 1080p ou 4K à l'aide du Topaz Upscaler intégré — n'oubliez simplement pas que les fichiers upscalés expirent au bout de 7 jours, alors téléchargez-les sans tarder.
Chaque étape se déroule au sein d'une seule plateforme, avec des tokens qui assurent un suivi transparent de vos coûts tout au long du processus.
Pour conclure
La fonctionnalité Remove Video Background d'AB-Arts Studio met l'isolation de sujet de qualité professionnelle à la portée de quiconque dispose d'un navigateur. Aucune compétence en rotoscoping requise, pas besoin de fond vert, aucun logiciel complexe à installer. Importez, traitez, téléchargez, montez.
Que vous composiez des plans VFX, créiez du contenu pour les réseaux sociaux ou produisiez des vidéos produit soignées, cet outil vous fait gagner des heures de travail manuel et s'intègre parfaitement au reste de votre workflow créatif propulsé par l'IA.
Prêt à isoler votre premier sujet ? Ouvrez AB-Arts Studio, créez une session Remove Video Background, et constatez les résultats par vous-même.
Articles liés
← Toutes les actualités
AB-Arts Studio — Nouveautés : éditeur de nœuds, documentation intégrée
Nano Banana 2 est désormais disponible sur AB-Arts Studio : génération d'images par IA plus rapide
Découvrez Nano Banana 2, le tout nouveau modèle de génération d'images par IA sur AB-Arts Studio. Plus rapide, plus net et plus fidèle aux prompts, pour des résultats époustouflants en quelques secondes.

Explorez chaque angle de votre création dans AB-Arts.Studio
Notre nouvelle Session Caméra Multi-Angles vous permet de vous déplacer librement autour de n'importe quelle image importée. Déplacez le curseur, choisissez de nouveaux points de vue et générez instantanément des perspectives différentes et saisissantes grâce à l'IA. Un véritable contrôle créatif au bout des doigts !